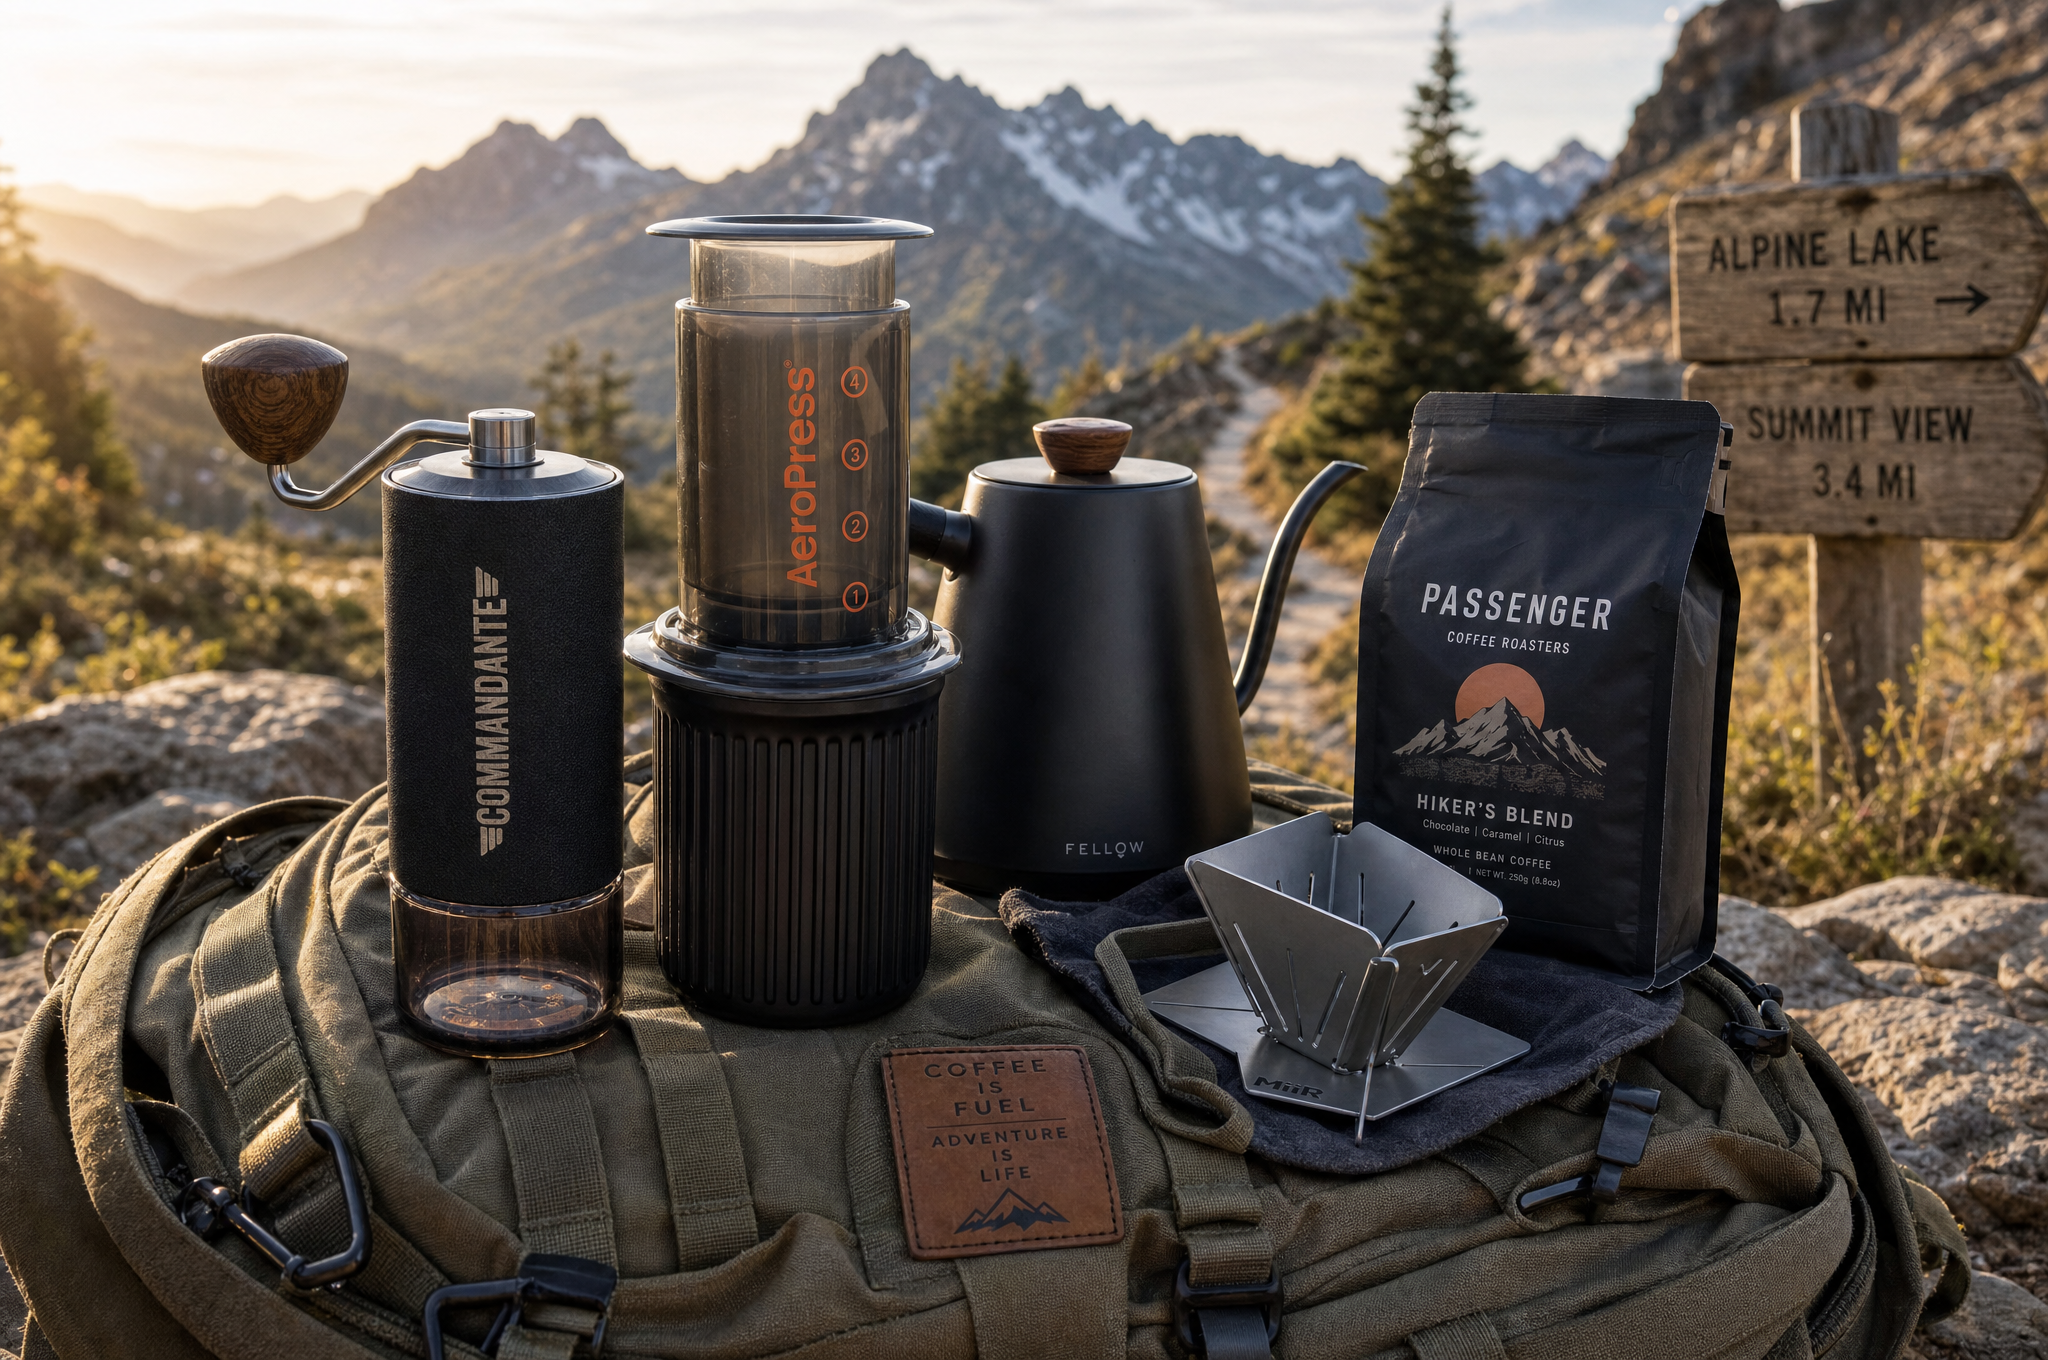
Some of the best coffee I have ever made was on a mountainside at 6am, watching the sun come up over a valley. It was not the best beans I have ever used. It was not the fanciest equipment. It was the moment and the fact that I had brought the right gear to make it happen. That is the case for a travel coffee kit: not luxury, but the ability to have a real cup when you are far from a cafe.
Building a travel kit is a different exercise from building a home setup. At home, you optimize for quality and convenience. On the road, you optimize for weight, durability, and versatility. The good news is that the best travel brewers are also some of the best brewers, period. You are not making sacrifices, you are just choosing tools that happen to travel well.
The Core: Choosing Your Brewer
For travel, you need a brewer that is lightweight, durable, and forgiving. Three options stand out.
1. AeroPress (The All-Rounder)
The AeroPress is the gold standard for travel coffee. It is virtually unbreakable, weighs almost nothing, and is one of the most forgiving brewers you can use. You can brew with water from a camp kettle, a hotel room coffee maker, or even a thermos of hot water. It is also the easiest to clean: just pop out the puck of grounds and rinse. For most travelers, this is the answer. Weight: about 230g. Cost: $30-35.
2. Collapsible Pour-Over (For the V60 Devotee)
If you are committed to pour-over, several companies make silicone or plastic collapsible drippers that pack flat. The trade-off is that pour-over requires more precision. You need a gooseneck kettle for proper pouring, which adds weight. But if you already own a travel kettle, a collapsible V60 is a great option. Weight: about 100g (dripper only). Cost: $15-25.
3. Wacaco Nanopresso (For Espresso Lovers)
If you need espresso, real concentrated espresso, the Nanopresso is a hand-powered espresso maker that fits in a jacket pocket. It is more finicky than the AeroPress and requires a fine grind, but it produces genuine espresso shots. Not for everyone, but impressive for what it is. Weight: about 336g. Cost: $65-80.
The Grinder: Non-Negotiable
If there is one rule for travel coffee, it is this: bring a grinder. Pre-ground coffee is stale within hours, and stale coffee tastes flat no matter how good your brewer is. You need to grind fresh.
The good news is that excellent travel grinders exist. Look for a manual burr grinder that is compact but uses real burrs (not blades). The key features are ceramic or steel burrs, a foldable handle, and a capacity of at least 20g (enough for one large cup). See our grind size guide for why burrs matter.
Weight Tip
A manual grinder typically weighs 200-400g. It is the heaviest single item in your kit, but it is also the most important. Do not skip it, and do not substitute a blade grinder, which will ruin even the best beans.
The Kettle: Hot Water On the Go
You need a way to heat water. Options: a variable-temperature travel kettle (the best option if you have space, look for one that can hit at least 95 degrees C), a camp stove with a small pot (the ultralight option, but you will need to guess the temperature), or a hotel room kettle (free, but usually only reaches a full boil). See why temperature matters in our water temperature guide.
The Scale: Worth the Weight
A small digital scale that reads to 0.1g might seem like an unnecessary luxury for travel, but it is the difference between a good cup and a great one. Coffee brewing is a ratio game, and eyeballing it, especially with unfamiliar water vessels, leads to inconsistent results. A pocket scale weighs about 50g and costs $10-15. Bring one.
Beans and Storage
Bring whole beans, obviously. For trips under a week, a small bag or airtight container is fine. For longer trips, consider vacuum-sealed portions. Keep beans away from heat and light: a side pocket of your backpack is better than the top, where sun exposure can degrade them. Our bean storage guide covers the details.
Putting It All Together
Here is what a complete, well-balanced travel kit looks like: AeroPress with filters (230g), manual burr grinder (300g), collapsible travel kettle (200g), pocket scale with 0.1g precision (50g), small airtight bean container (60g), spare paper filters (10g). Total: about 850g, or under 2 pounds. That is less than two pounds for a setup that can produce coffee as good as anything you would make at home.
- AeroPress with filters: 230g
- Manual burr grinder: 300g
- Collapsible travel kettle: 200g
- Pocket scale (0.1g precision): 50g
- Small airtight bean container: 60g
- Spare filters (paper): 10g
- Total: about 850g / 1.9 lbs
What Not to Bring
A few things people commonly pack that you should leave behind: a French press (glass versions break, metal versions are heavy, the AeroPress does the same job better), pre-ground coffee (it will be stale before you arrive), an electric grinder (too heavy, and you will not always have power), and a gooseneck kettle (unless you are committed to pour-over, it is unnecessary weight).
The Philosophy
There is a reason Carry is in our name. Great coffee is not a luxury that stays in the kitchen. It is a craft that travels. The best cup is not always the one made with the most expensive equipment. Sometimes it is the one you made at a campsite, or in a hotel room, or on the side of a trail, with a kit that fits in your bag and a view you cannot get anywhere else.
Build the kit. Bring it with you. Make coffee wherever you go. That is the whole point.